Figma Setup
Create Figma Account
-
You will receive an email in your Madison College inbox from Figma inviting you to join a team. Your team name will be the UIUX plus the class format and the section number. Check your spam folder - your invite may be located there

-
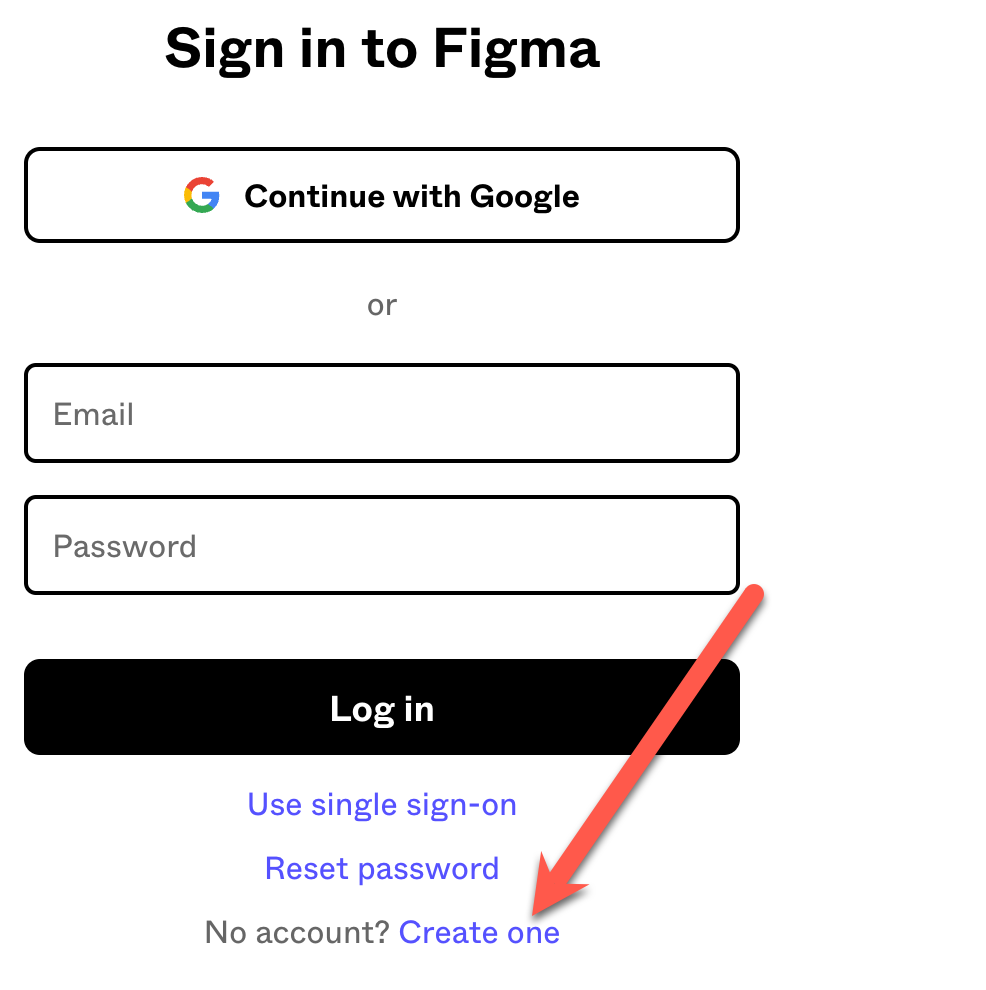
Click on Join team
-
After entering your Madison College email address and creating a password, click Create Account.
**
You MUST use your student email address to receive full privileges in Figma.**
Verify Student Status
-
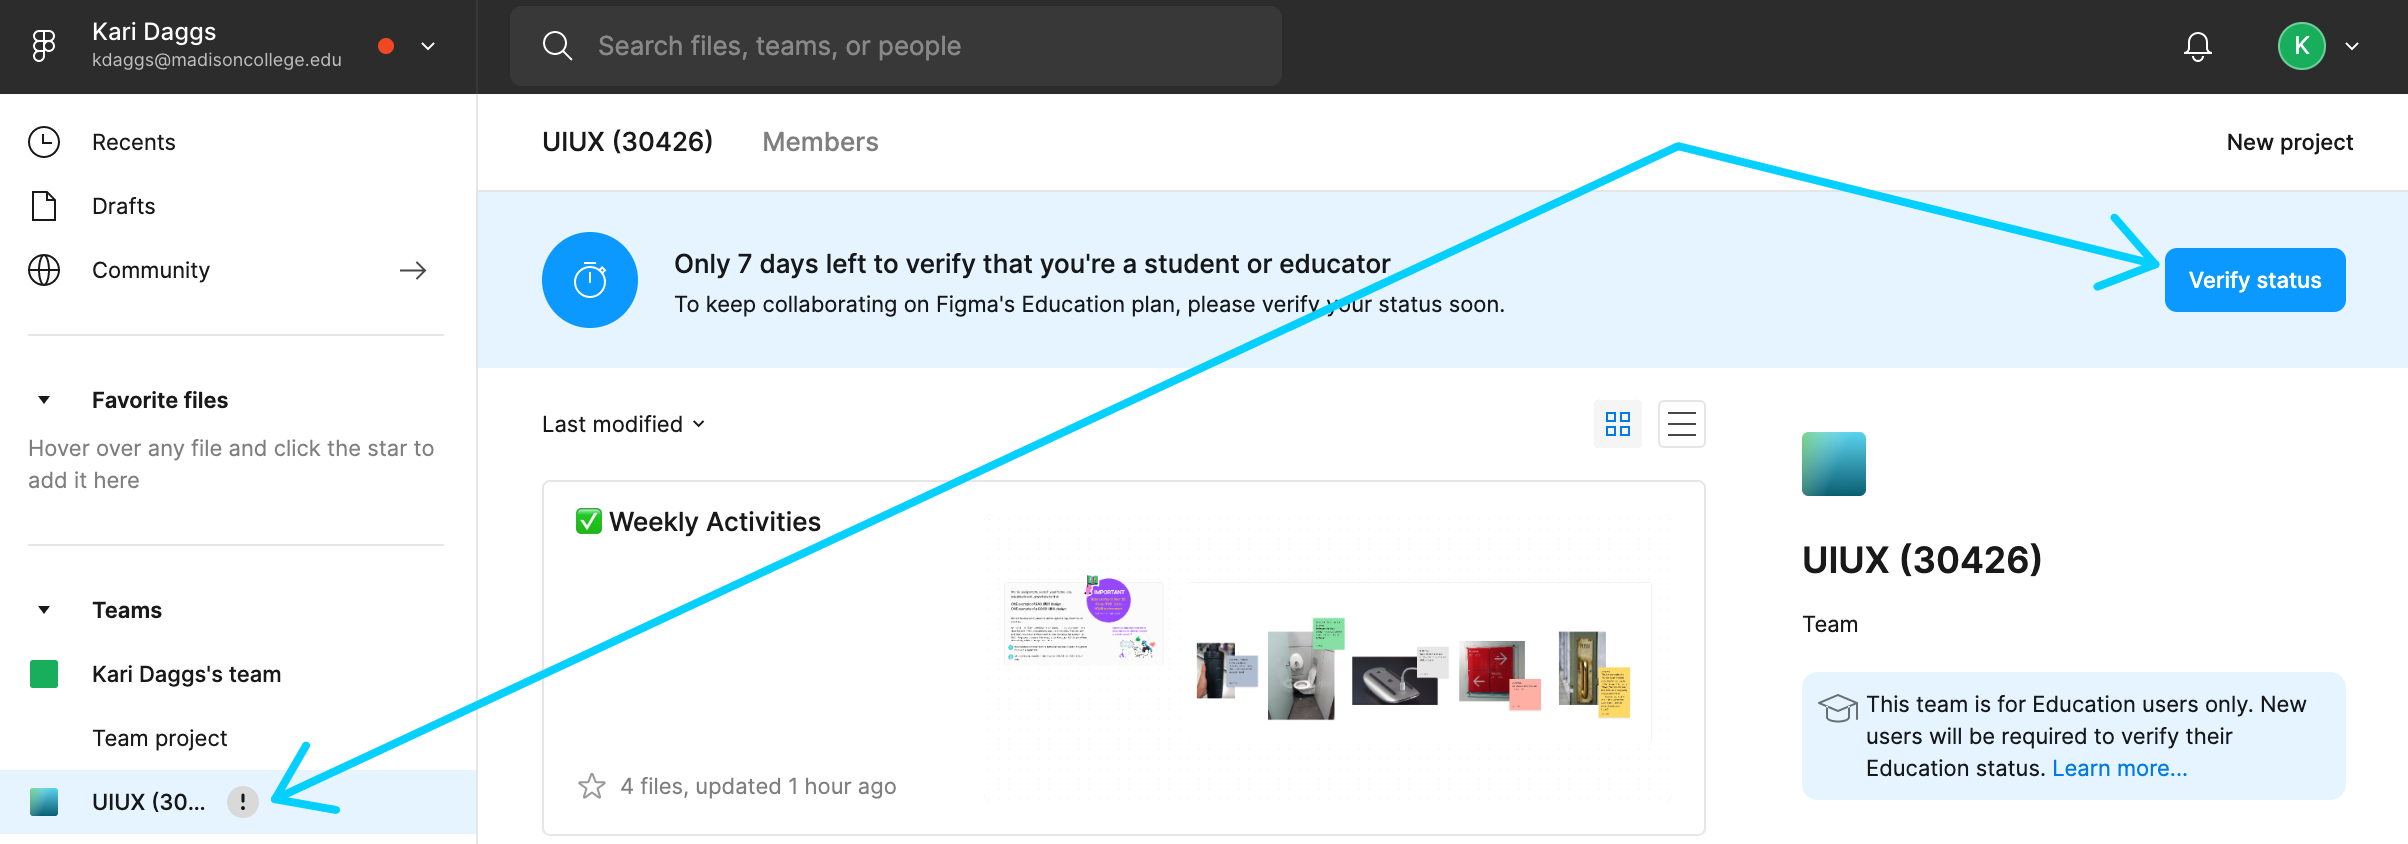
Notice that the Team name in the left navigation has a exclamation point. To unlock your Figma team, click on the blue Verify status button in the upper right.
-
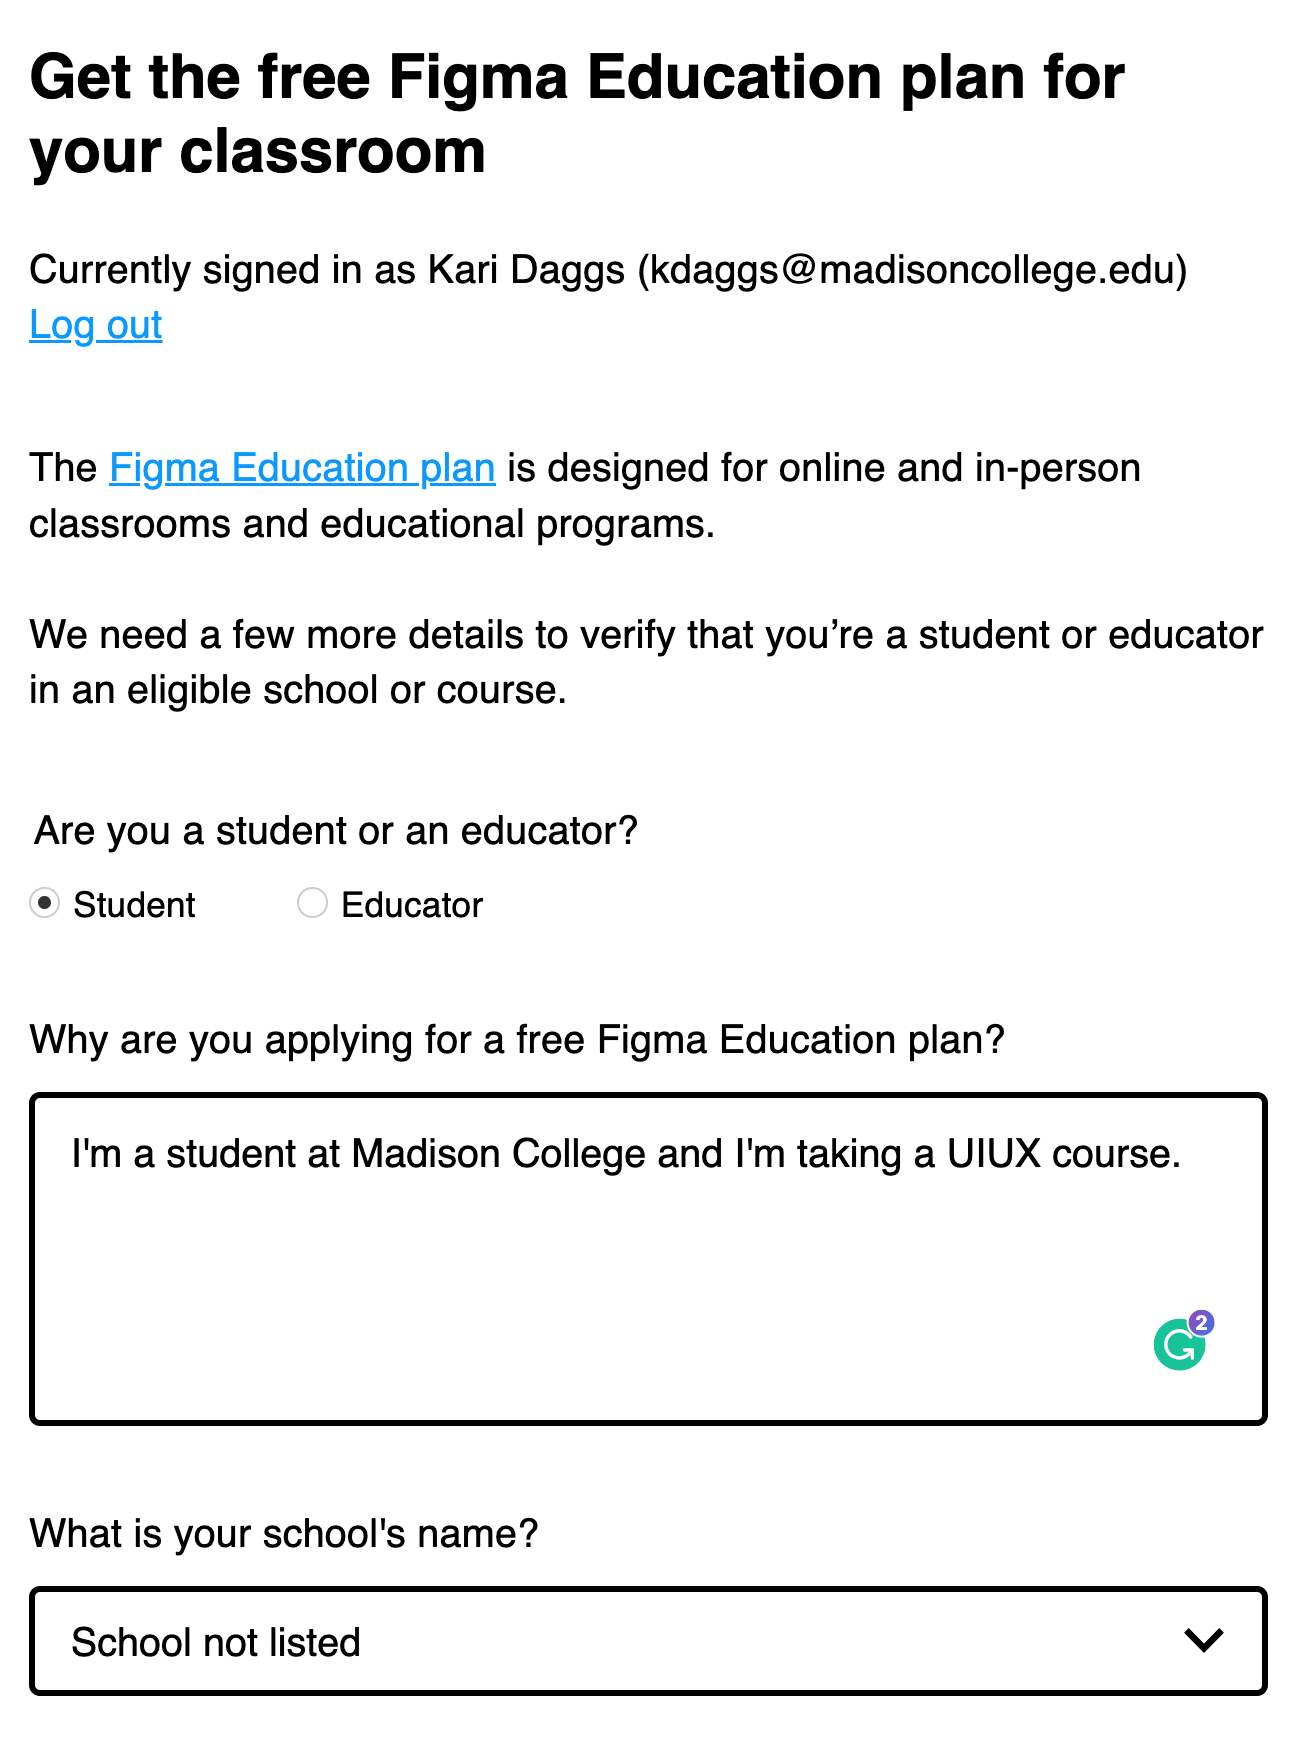
Fill out the below form with your student and school information and click Select.
-
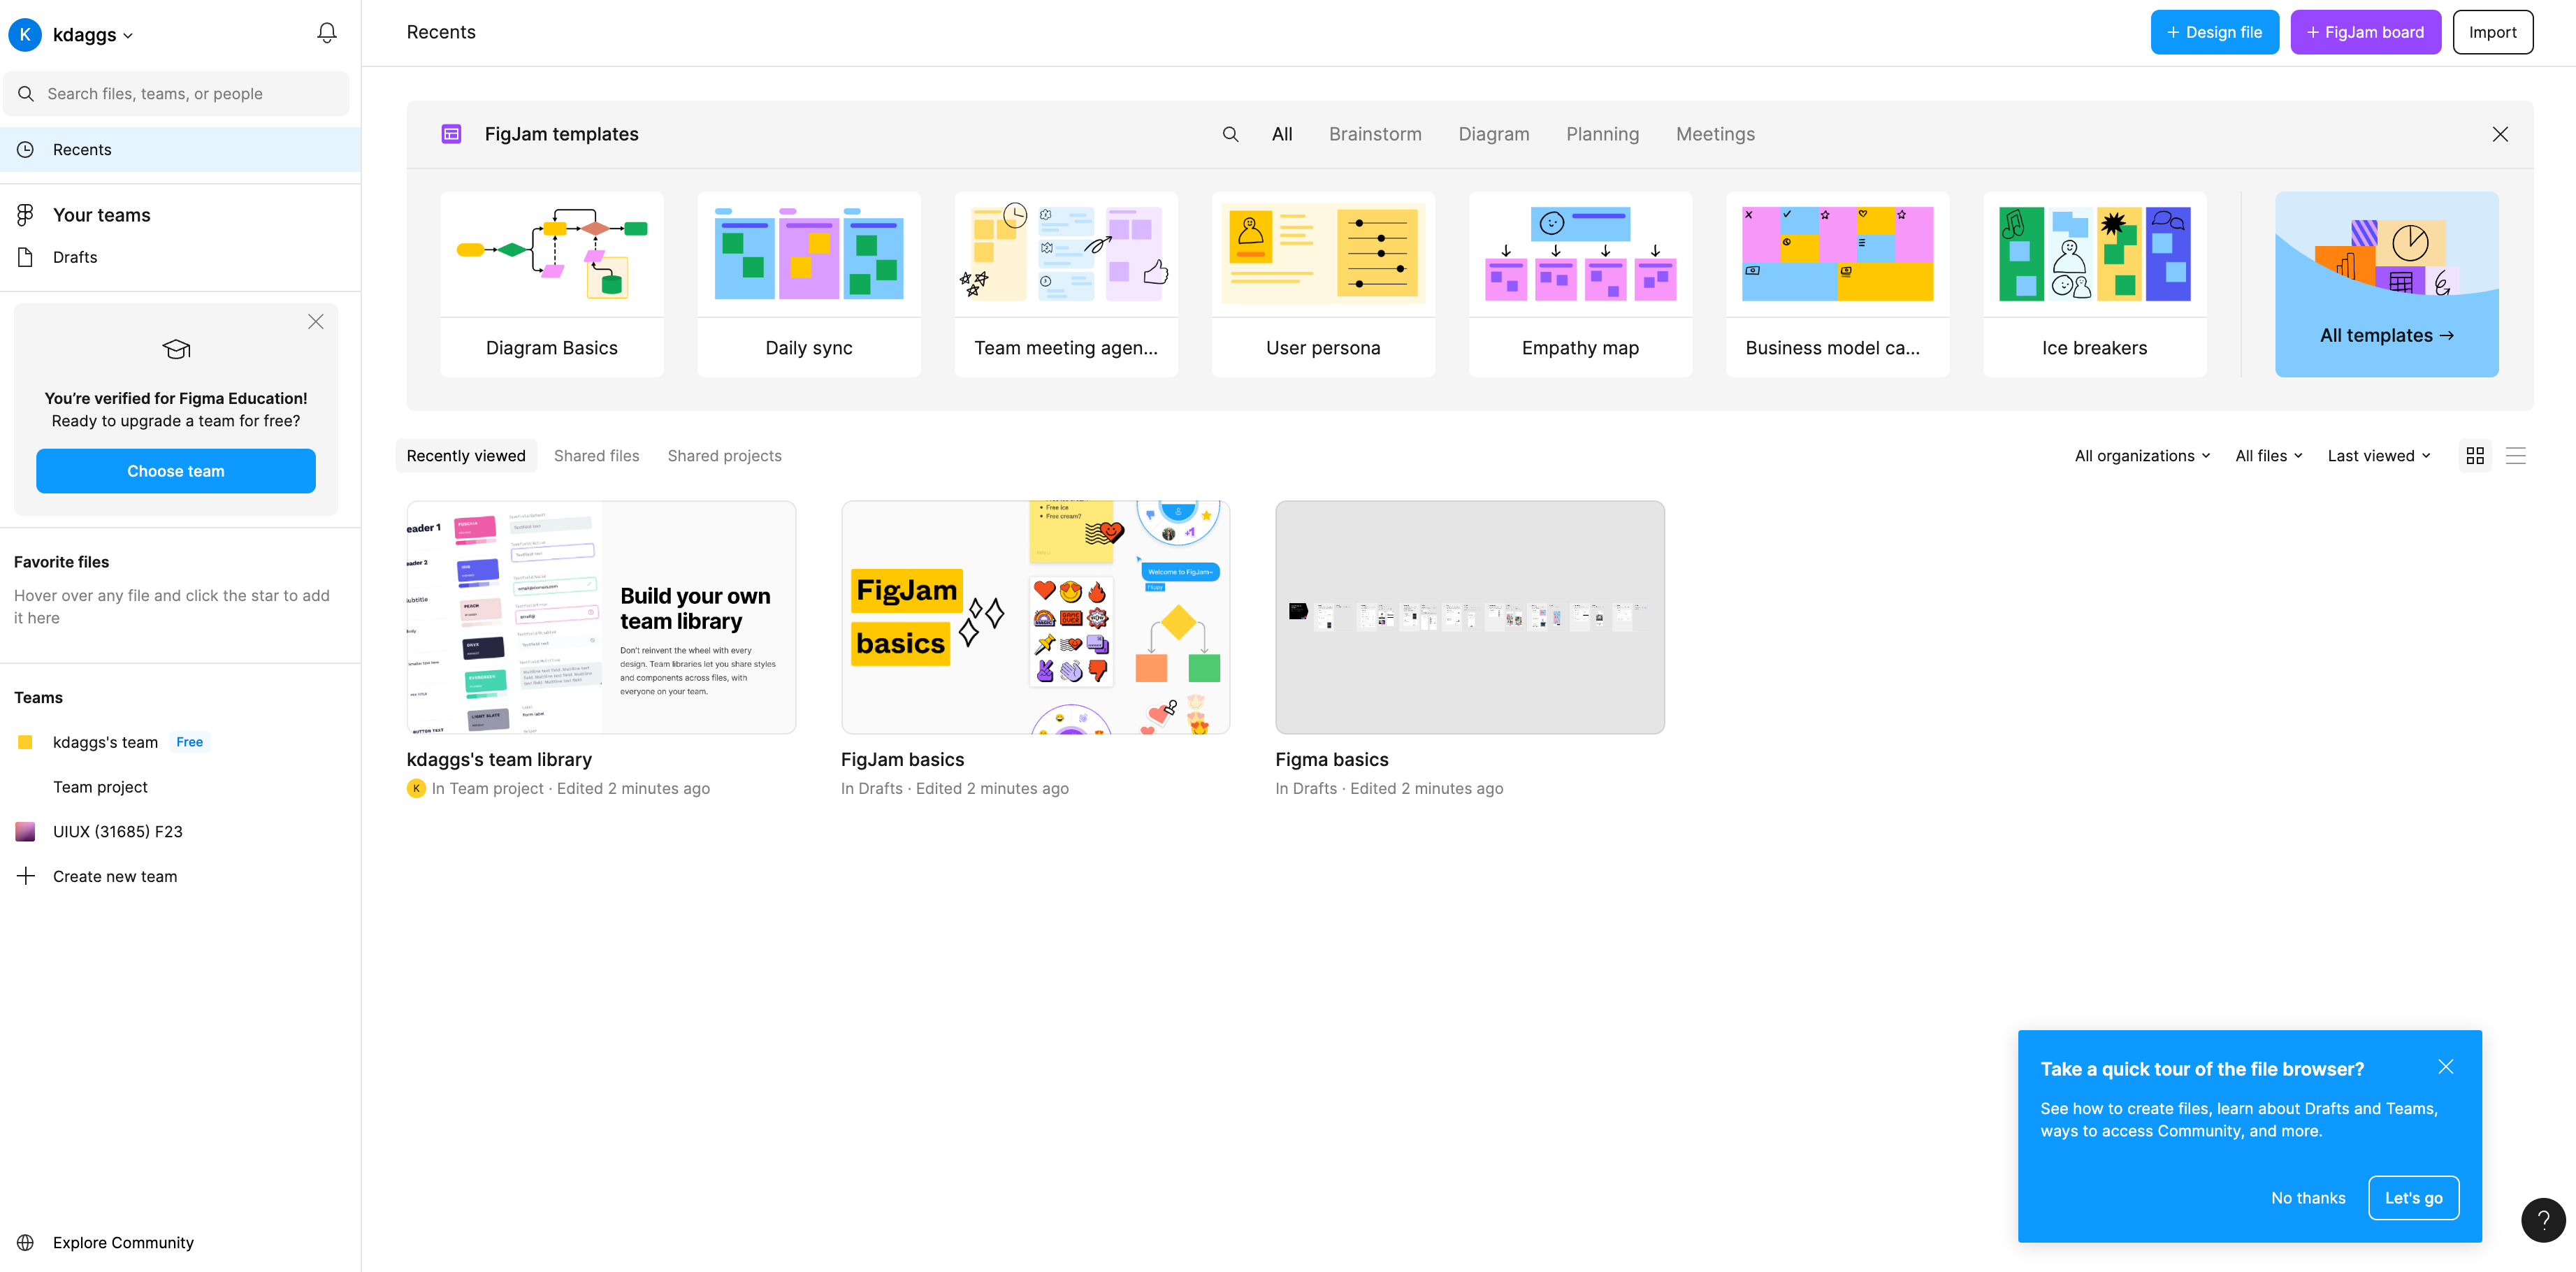
You should now see a Figma interface similar to the below screenshot.
Note: Figma updates their interface frequently, so you may see differences from the screenshot below.
-
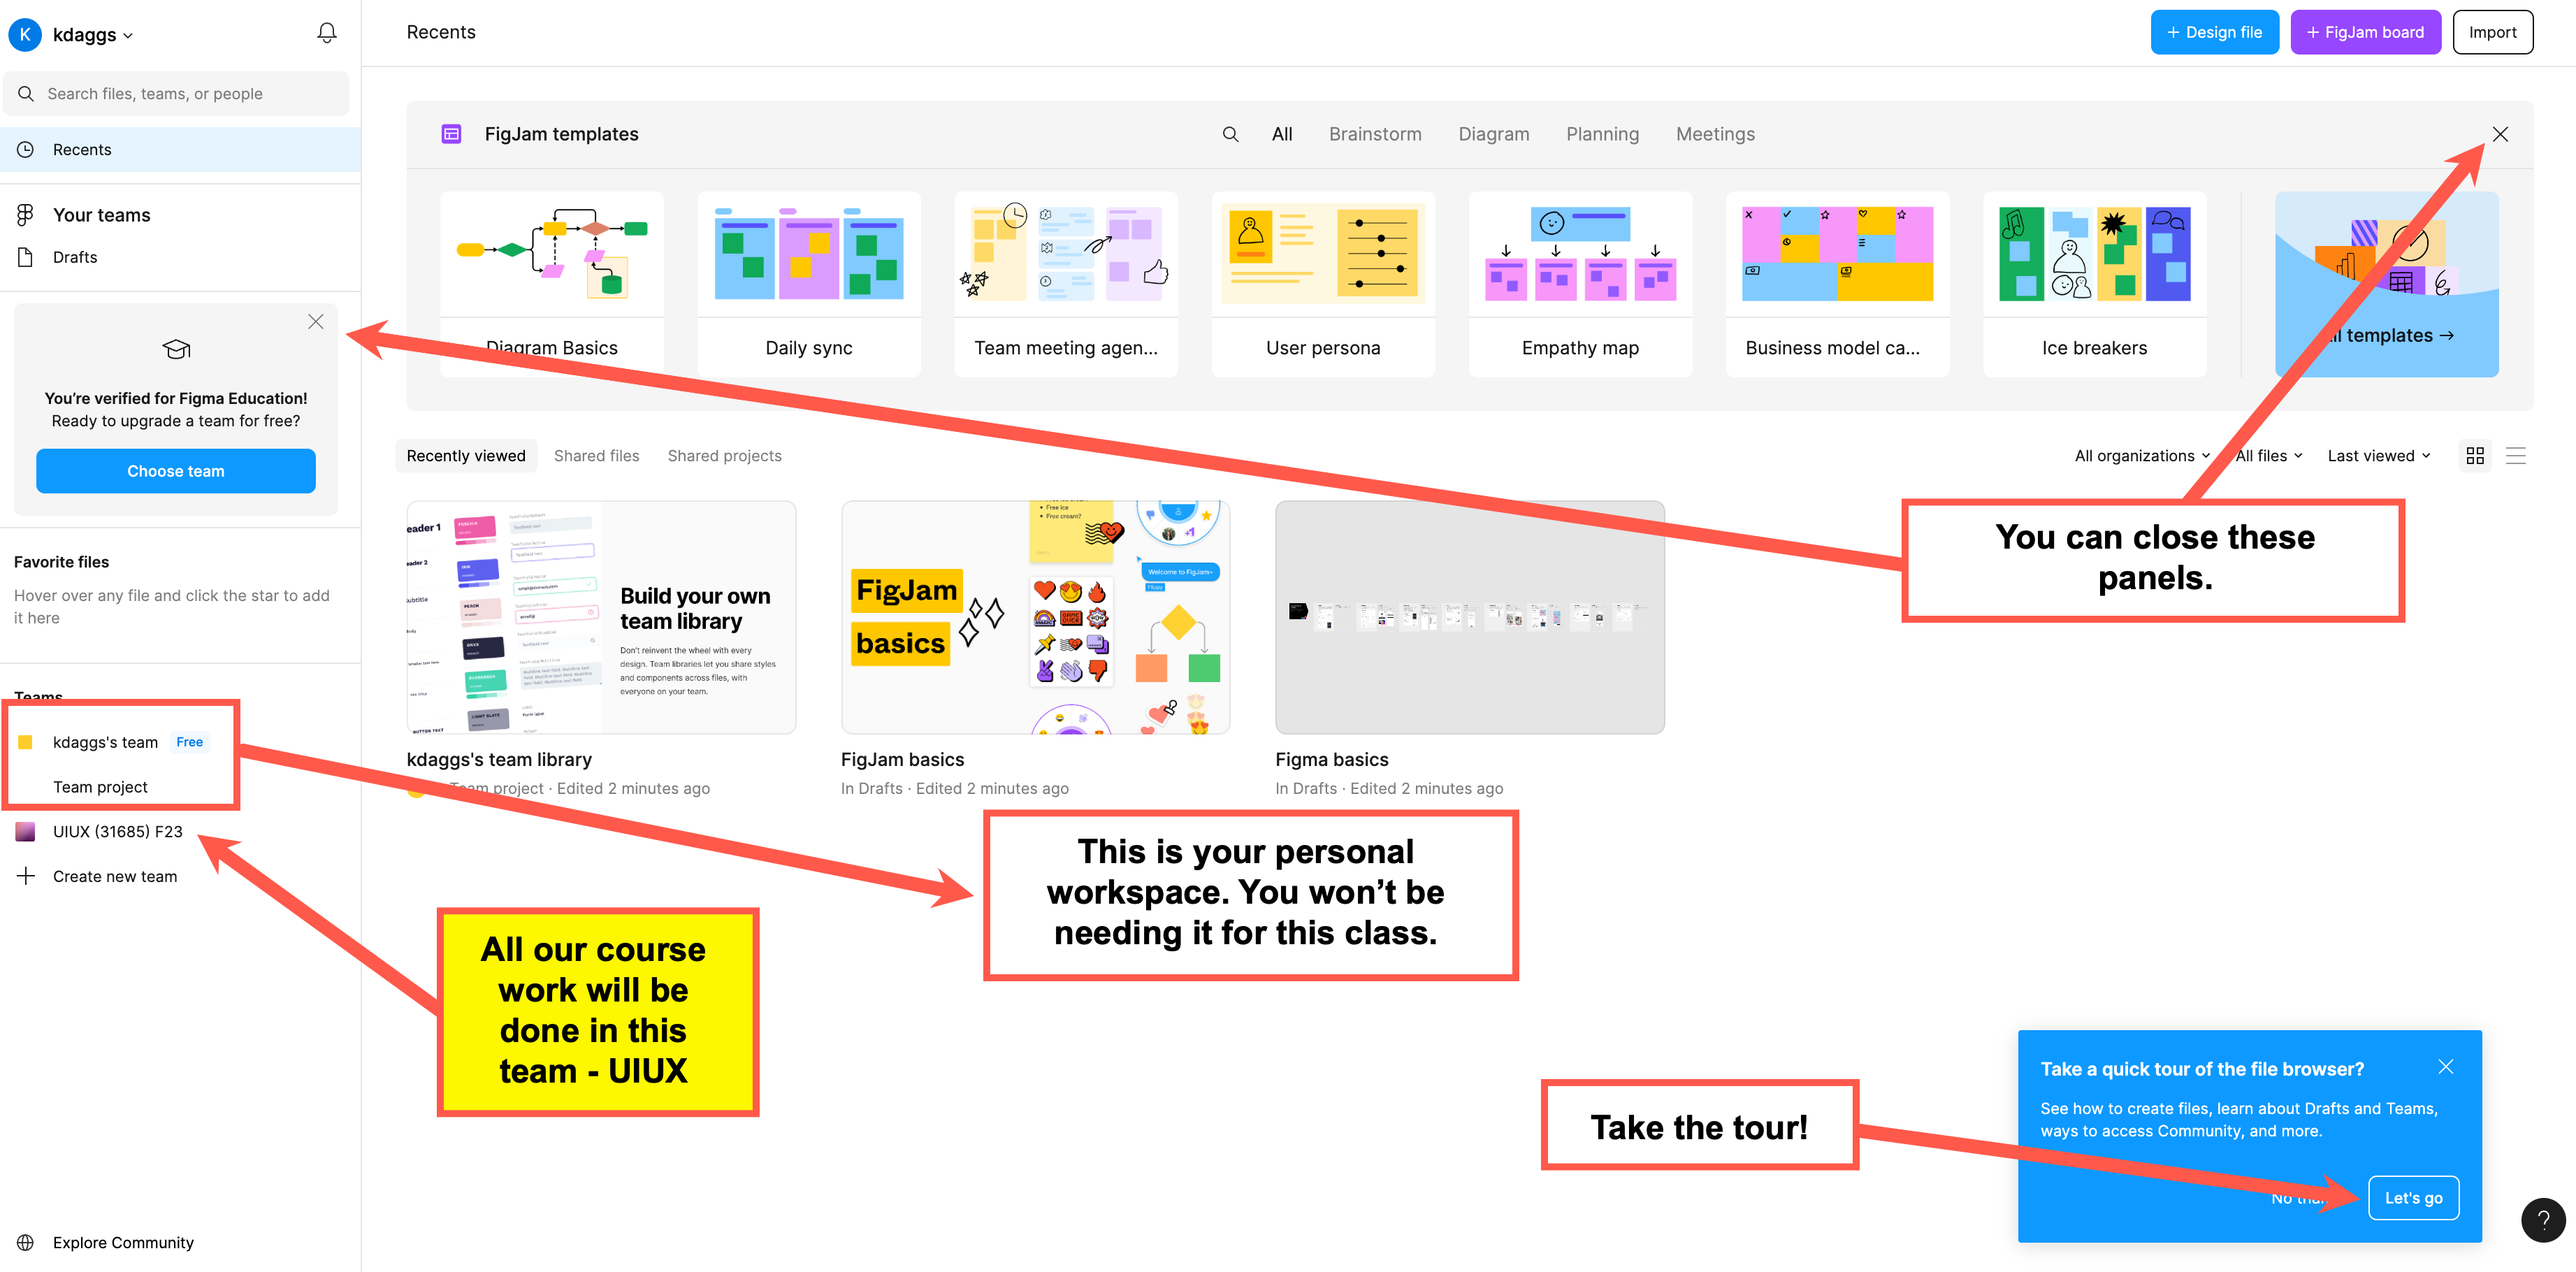
Take the "quick tour" in the bottom-right to see some of the Figma basics and note my highlighted areas below.
Download Desktop App (optional but recommended)
If you are using a MATC issued laptop, Figma will already be installed.
You can continue to use Figma in the browser, but I do recommend using the desktop application. The computers in the IT Department have Figma installed, but if you are using a loaner laptop you will need to continue using Figma in the browser. If you wish to install Figma on your personal computer, use the following links for you either Mac or Windows.
Create a Personal Project
-
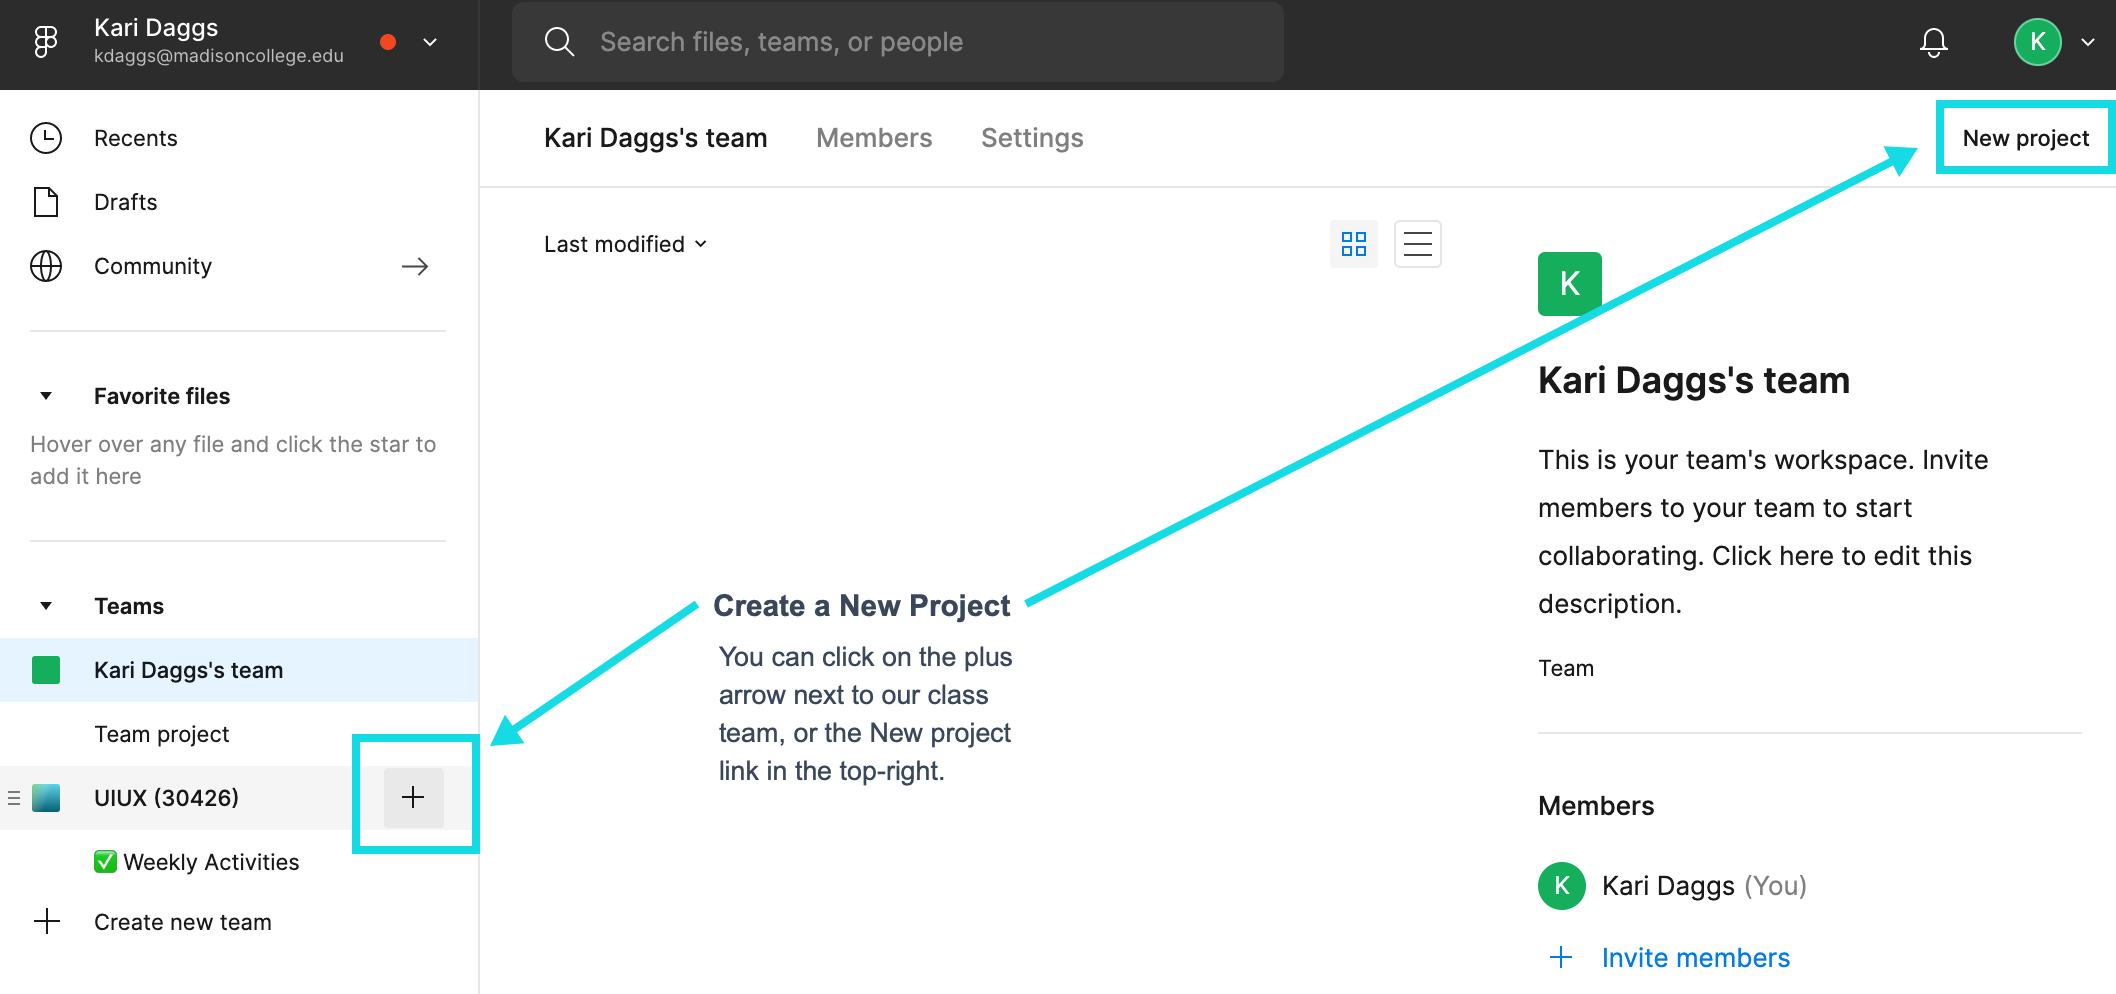
With our class team selected, click on the plus sign or the New Project link in the top-right.
-
Name your project with your first and last name.
- Skip step 2 where it asks you to add people to the project. We'll do that a different way. Just click "Create Project".
-
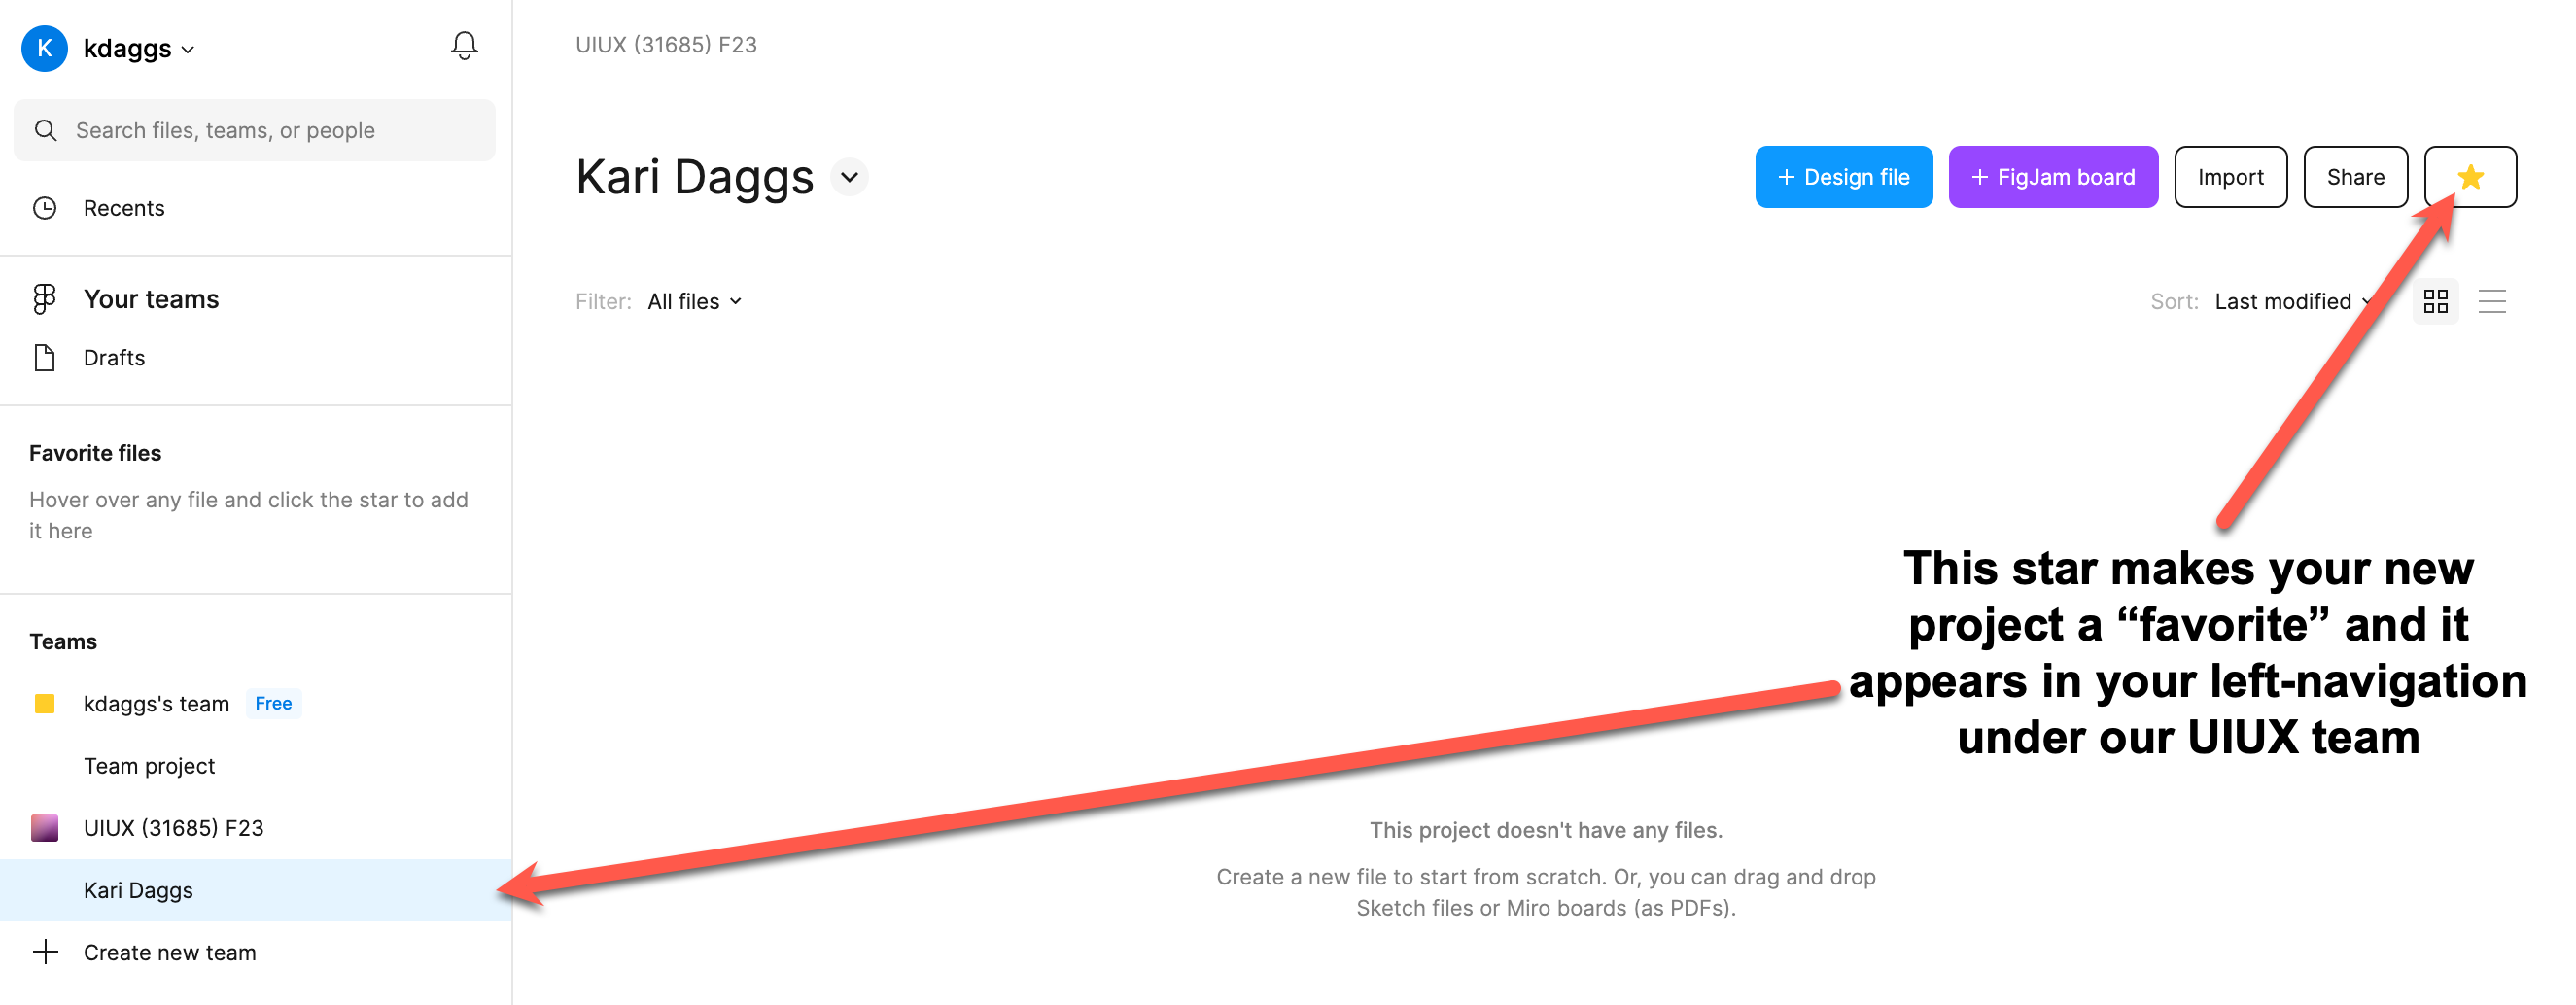
In your new project, click the star icon to make it a favorite. It should now appear in the left navigation under our class team.
-
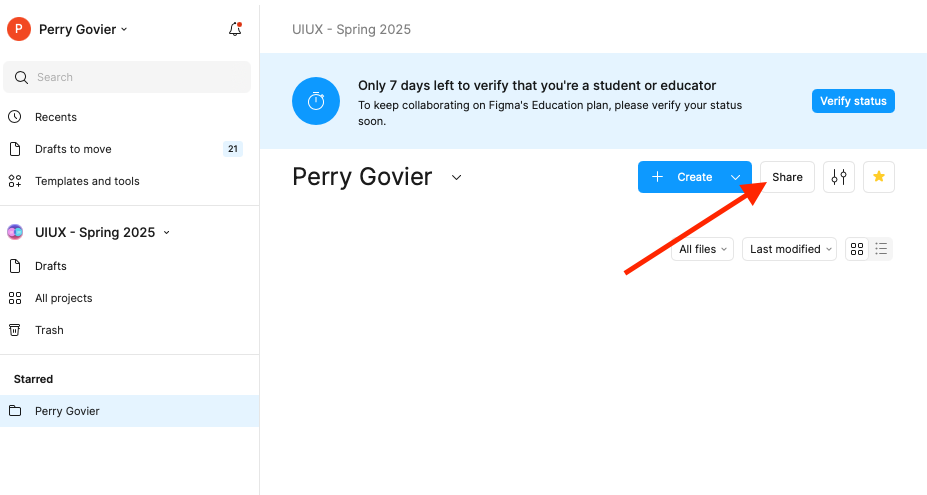
Click on the Share button in the upper-right (next to the star).
-
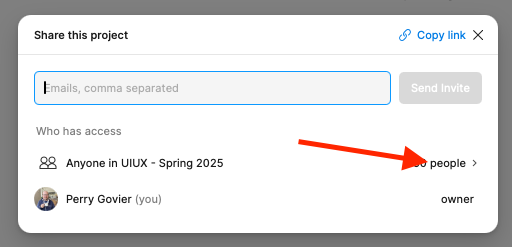
By default, Figma shares your personal project folder with the entire class. We want to change this so that you're only sharing it with your instructor. In this dialog window, click "Anyone in UIUX - [Spring/Fall 20XX]".
-
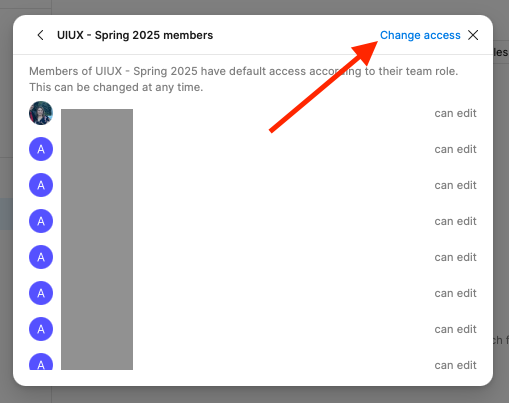
The next window shows everyone in the class. Rather than changing the sharing settings for each person individually, you can click "Change access" in the top right.
-
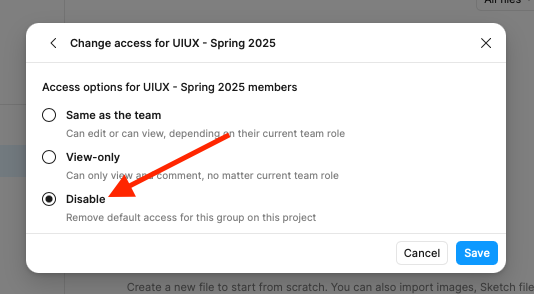
In the next window, set the sharing settings for all members to "Disable" and then click "Save".
-
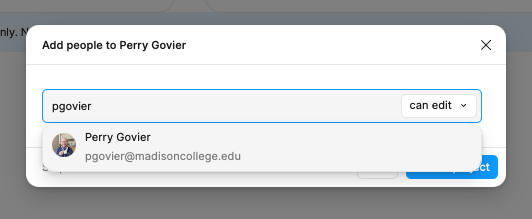
Now you need to add your instructor to the project. If you begin typing their name or email address, their profile should appear. Click on it to add them. Make sure you are giving them Can edit access. Finsih adding your instructor by clicking the "Send Invite" button.
-
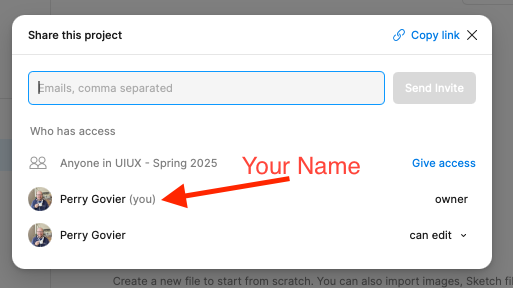
When you're done, you should see that the class is greyed out in the sharing settings, with "Give access" on the right hand side. You should also see your name as the owner, and your instructor listed as having edit access. Similar to the screenshot below, but you will see your account where the arrow is pointing.
